Converting a regular bicycle into an electric bike, also known as an e-bike, has become a popular option for DIYers and cycling enthusiasts. The benefits of owning an e-bike include extra assistance when pedaling, less effort uphill, and longer comfortable rides. If you have a bike you already love, converting it to electric can be an attractive alternative to buying a brand new pre-built e-bike.
Things to Consider Before Converting Your Bike
Before getting started with a bike conversion project, here are some important considerations:
Compatibility
You’ll want to make sure the conversion kit you select is compatible with your bike’s frame size, tire size, brake type (disc or rim) and overall design. There’s a wider variety of hub motor kits to fit different bikes, while mid-drive systems are trickier in terms of fit.
Cost
A high-quality conversion kit with lithium battery can cost $500 to $1500 or even more. Consider your budget and how much use you intend to get out of the e-bike. Converting a cheaper or older bike generally makes more economic sense.
Power and Speed Needs
E-bike motors come in different wattages and some kits allow adjustable speed settings. Assess your riding needs – higher watts and faster speeds require more battery capacity for adequate range. Many kits offer 500W to 1000W motors with 20-30 mph top speeds.
DIY vs Professional Conversion
Converting yourself requires mechanical skills and electrical know-how. For some, paying an expert for a professional installation gives peace of mind despite the added cost.
Methods for Converting a Regular Bike
There are three main types of power conversion systems on the market:
Hub Motor Conversion Kits
Hub motors are the most popular and affordable option. The electric motor is built directly into the front or rear wheel hub, replacing it entirely. Hub motors are simple to install but the extra weight can affect handling.
Mid-Drive Motor Kits
Mid-drive motors mount near the bike’s bottom bracket and crank drive train. This central location improves weight distribution for better balance when riding. However, installation is more complicated than a hub kit.
See also: How to Prevent Electric Bike Corrosion
Friction Drive Systems
A friction drive attaches an external motor against one of the bike tires. The wheel spins via friction contact. These kits leave the original drive train intact but some lack the torque and longevity of hub and mid-drive alternatives.
Components Needed

To electrify your non-electric bike, the conversion process calls for several main components:
Motor
The electric motor (hub, mid-drive or friction drive) replaces or augments pedal power. The motor directly affects your e-bike’s speed capability and hill climbing ability.
Battery Pack and Charger
Rechargeable lithium batteries ranging from 36V to 48V are common e-bike power sources. Higher voltage packs allow faster speeds and longer ranges per charge. Batteries account for about half the total conversion expense.
Controller
The controller manages and distributes electric power between the system components. It safeguards the e-bike’s electronics from power surges or instrument failure.
See also: How to Ride an Electric Bike: Every New Rider Should Know
Throttle
The throttle activates the motor via twist grip or thumb control, providing acceleration assistance while pedaling – or throttle-only power if you take feet off the pedals. Thumb throttles ensure easy right-hand access.
Other Components
Depending on the kit, your e-bike conversion could also require a new cycle computer, speed sensor, brake levers, cables, fuse and special tools. Kits should include all necessary parts and accessories along with instructions.
Installation Process Step-by-Step
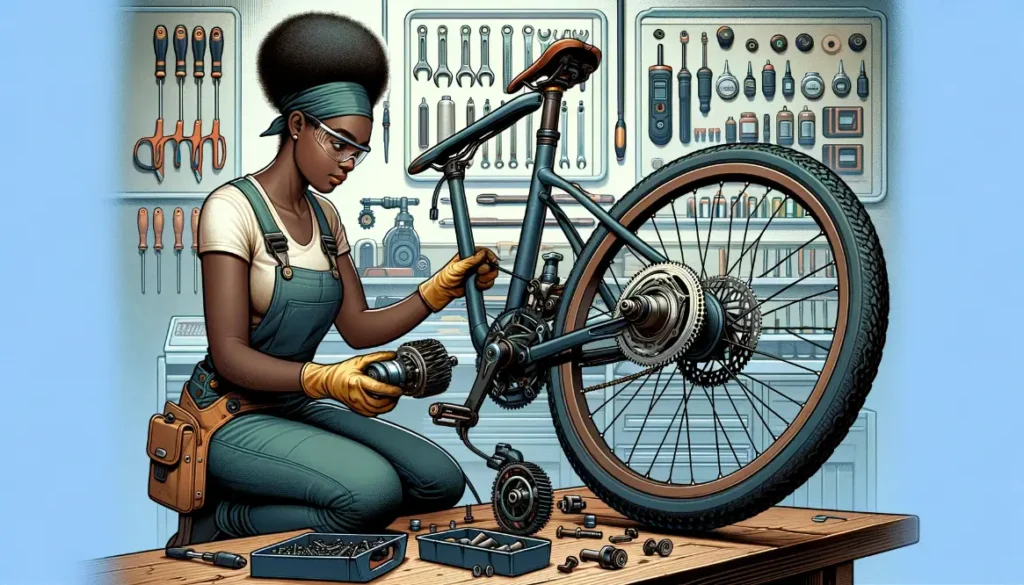
Converting a standard bike requires methodical mechanical skill. With the proper tools and patience, these key steps complete the installation:
Prep the Bike Frame
Start by removing tires, gears, cables, chains, crankset bottom brackets and other parts that will interfere with motor integration. The frame prep varies by kit type and bike model.
Install the Motor
Attach hub motors to fork and frame dropouts with specialty mounting hardware. Mid-drive motors use specific brackets to mount centrally around the bottom bracket. Friction drives directly contact the rear tire.
Connect the Electrics
Major wiring includes battery-to-controller and controller-to-motor. Then install throttle cables, displays, speed sensors and auxiliary electrical fittings per diagram specs.
Install Controls and Displays
Attach the system throttle in a spot accessible while riding such as the handlebar grip. Cycle computer mounts to the bars to show speed, power level, distance and other electrical data.
Test and Adjust
Inflate tires to proper PSI, adjust derailleur and brake tension. Power up to diagnose issues. Fine-tune throttle and cadence settings to your riding style from the controller programming.
Maintaining and Caring for Your E-bike
Routine maintenance helps maximize your electric bike’s performance and lifespan:
Battery Care
Fully recharge depleted batteries ASAP rather than allowing to sit drained for days. Store indoors rather than outdoors under extreme hot or cold tempatures. Lifespan averages 2-5 years under regular cycling.
Motor Maintenance
Hub motors are sealed so no internal cleaning needed. The key is keeping external casing clean and checking mounting hardware after initial break-in period to ensure optimum secure positioning.
See also: How Much Does an Electric Scooter Cost?
Controller Settings
Over time, adjust settings like wheel size diameter and max speed as needed in response to motor responsiveness. Update controller firmware when manufacturer releases software updates.
Safety Checks
Check tire tread and air pressure frequently. Inspect all electrical connections to avoid loosening. Confirm brakes engage properly for safe stops. Make tuning adjustments as required.
Pros and Cons of Conversion Kits
Pros
- Less expensive than buying a complete pre-built e-bike
- Choose exact electric components to match your riding goals
- Retain familiarity of bike you already ride and like
- Gain knowledge and satisfaction from DIY project success
Cons
- Installation has a learning curve, especially for mid-drive motors
- Tricky troubleshooting electrical or mechanical issues
- Voided warranty if problems arise later with certain components
- DIY mistakes could affect system integrity or personal safety
Conclusion
Electrifying a standard bike with a proven quality conversion kit makes cycling longer distances or conquering challenging terrain far more achievable. Compare component features and budgets carefully first. For many riders, the empowering motor-assisted mobility outweighs the setup effort and expense. Maintain properly, and your electric bike conversion should deliver years of rewarding riding.
FAQs
How much does a bike conversion kit cost?
Costs range widely from $500 to $1500+ depending mostly on motor wattage, battery voltage, controller quality and included accessories. Pre-built wheel hub kits tend to be most affordable.
Can any bike be converted to electric?
Not necessarily. The frame has to support the added motor weight and torque. Front suspension, rim or disc brakes, compatible gears and overall bike durability are also factors.
Is it difficult to install an e-bike conversion kit?
Basic mechanical skill is required but hub motor wheel kits are fairly straightforward following instructions. Mid-drive motor systems are trickier to mount and integrate with gear drivetrains.
How fast can a converted e-bike go?
20-30 mph is common for public roads via powered assistance while pedaling. Some high-performance motors allow speeds over 30 mph but state laws determine legal limits for public operation.
How far can you ride electric bike conversion kits?
Electric range per charge depends on battery voltage, capacity, motor power and riding terrain. A 48V 10Ah battery with moderate assist could offer 15-35 miles range. Extended touring requires larger 36V/48V batteries.