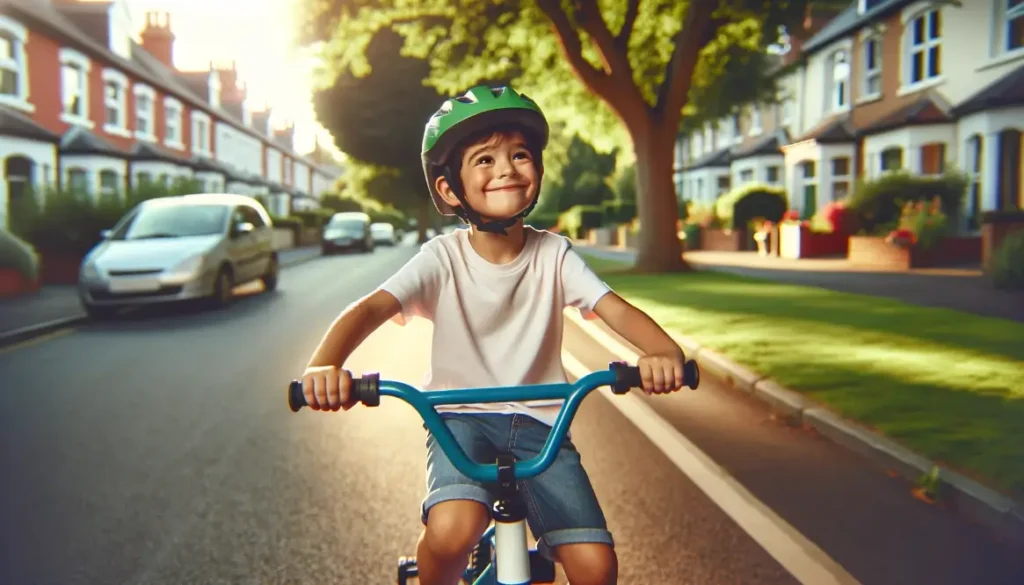
Learning to ride a bike brings joy, confidence, and a sense of freedom to children. As a parent, teaching your child this skill may seem daunting, but it can be broken down into clear, achievable steps. With focus, patience and encouragement, your child can be cycling independently within a single 20-minute session.
Riding a bike engages balance, coordination and awareness, so don’t worry if your child doesn’t master it straight away. Stay positive and let them know falling is part of the process. Approach teaching in a calm, supportive manner. If either you or your child become very frustrated, it’s best to take a break and try again later when tensions have eased.
Step 1: Make Sure Your Child is Ready
Kids develop coordination and strength on different timetables, so gauge if your child’s physical abilities are primed for bike riding success. By around age 5, most kids have the minimum requirements:
- Leg strength to pedal and balance
- Arm and hand strength to grip handlebars and brake levers
- Core and back strength to remain upright
- Spatial awareness and reaction time to steer successfully
There’s no set age when every child will definitely be ready. Let your child try riding with your support and see how they manage. Small children may need to start on a balance bike before attempting pedals.
Mental readiness is also key. Ensure your child wants to try, understands the instructions, and will focus enough not to get immediately distracted or give up. Praise their effort and don’t push too hard if they lack confidence. Building positivity takes patience.
Step 2: Pick a Good Location
The right location sets you both up for an easier teaching and learning experience. Hard, flat surfaces like concrete or paved driveways work best, avoiding slippery grass or steep sections. The spot should be free of obstacles like trees and rocks so your child can find their balance without having to steer and dodge objects straight away.
Start away from traffic, pedestrians, slopes or corners so if your child veers off course there’s no danger of collision. Open areas are great to begin with before venturing out near roads when bike handling skills improve. Stay alert and ensure helmets are worn.
Step 3: Set Up the Bike Properly
Getting the bicycle adjusted for your child makes balancing and maneuvering much easier from their very first pedal. When they can comfortably touch the ground with the balls of both feet while seated on the bike, the height is just right. Kids should also be able to grip handlebars without overstretching.
Ensure the seat aligns with the pedals properly so legs can push down and around in a full circle without knocking knees on the handlebars. Check tire pressure, brakes and that the chain runs smoothly before letting them loose! Setting up the bike right prevents many tears and tantrums down the track.
Step 4: Support Your Child’s First Rides
Launching a hesitant new rider too soon usually ends in falls, scrapes, dented confidence and tears. You don’t want your child’s first solo ride to hurtle into a bush! Stay close, holding the back of the saddle as they get a feel for balancing, steering and pedaling simultaneously.
Jog slowly alongside, allowing your child to practice pedaling fully around in circles a few times as you hold the bike steady. When they seem comfortable, let the bike glide unaided very briefly (just a couple seconds) before catching the saddle again. These short bursts help them get the feel while building courage.
Step 5: Gradually Let Go

As you feel your child balancing confidently, release your hold on the saddle for slightly longer spurts, praising their progress before catching hold again. At first only let go very briefly – just long enough for a couple pedal rotations rather than minutes of solo riding. You want to slowly stretch their solo gliding time, not launch and leave them unexpectedly.
Stay close by their side, hands hovering an inch from the saddle, ready to grasp it if the bike tilts or wobbles. If you have to catch the bike often at first, that’s normal. With practice, your child will straighten faster when teetering and your interventions will become fewer. Let these unaided bursts increase gradually.
Step 6: Let Them Ride Freely
When your child seems comfortably balanced, gliding several feet alone consistently, it’s time to give independence a go. Run alongside offering encouragement but avoid grabbing hold now unless absolutely necessary. Have faith in their abilities!
Let your child pedal off gently, remaining close behind. Resist the urge to hover too near or make worried cries that could break their concentration. Avoid following too far behind though, as you’ll need to jog up swiftly if they veer off course.
Initially your child may wobble but keep encouraging them to pedal out of the wobble rather than reaching out to stabilize the bike. Of course if they’re clearly losing control, do catch hold briefly until they’re steady again before letting go. But the more you intervene, the less chance they have to self-correct.
Step 7: Teach Safe Stopping
Once reasonably confident balancing, steering and pedaling, it’s vital kids know how to stop safely. For beginners, brakes are simpler than scraping feet along the ground, so focus first on using the rear brake lever to come to gentle stops. Make them practice braking to halt fully a few times before attempting to ride any distance.
When bike control improves, they can learn to stop by skidding one foot – then both feet – along the ground while maintaining balance. Scraper pedals help avoid scrapes. Let them try “zooming” short distances between multiple stops to reinforce braking skills before pedaling any further afield. Stopping is key to avoiding mishaps!
Step 8: Practice, Practice, Practice!
Rome wasn’t built in a day and your child surely won’t master two-wheeled independence in one quick lesson either, even if they stay upright for those first few unaided meters. Teach bike riding across multiple short sessions rather than one exhaustingly long one. Frequent practice boosts coordination and confidence best.
Try sessions of just 10-15 minutes in length to begin with, building gradually to 20 minutes max over days or weeks. Alternate between you holding the saddle for supported practice and letting them ride freely to put it all together. Ensure they take regular braking breaks too to reinforce safe stopping skills.
Vary locations too – try the backyard, nearby tennis courts, empty school grounds etc. Learning to balance on different surfaces boosts skill versatility. Stay positive, patient and full of praise during each session, even if progress seems slow. One day it just “clicks” and you’ll have the immense pride of watching your child freely cycling off down the street!
See also: How to Learn Cycling: A Comprehensive Guide for Adults
Conclusion
The sense of independence and confidence children gain riding a bike makes teaching them this useful life skill so valuable. Approach the process positively and it can be achieved faster than you think, even getting novice riders pedaling unaided within a single 20-minute session.
Break learning down into simple, graduated steps. Ensure your child is physically and mentally ready to coordinate the balance, steering and pedaling simultaneously. Provide close support at first with lots of praise while slowly building their solo gliding time. Teach safe stopping. Then through ongoing practice across short bursts in varied locations, you’ll have them speeding off on their own in no time!
FAQs
What age should a child be able to ride a bike?
Most kids develop the coordination and strength needed to ride a bike around age 5, but it varies. Let your child try with support to gauge their readiness. Small kids may need a balance bike before pedals.
What’s the best way to teach a child to ride a bike?
Start by supporting them fully as they get a feel for it, then gradually let go in brief bursts as skills improve. Stay close to catch them until they show confidence balancing and steering alone. Lots of encouragement and practice builds coordination.
What are the 3 main steps of riding a bike?
The 3 key skills are 1) Balancing – remaining upright while pedaling/gliding. 2) Steering – control of direction via the handlebars. 3) Pedaling in a full circle to keep momentum. Kids need to coordinate all 3 simultaneously.
How do I get my 2 year old to ride a bike?
Most 2 year olds lack the strength, spatial awareness and attention span needed for pedal bikes. Try a balance bike so they can learn balancing skills through pushing with their feet before attempting pedals. Or wait a year.
Can a 2.5 year old ride a bike?
Some may show enough coordination by 2.5 years to balance and pedal a little with support. But it’s often not until age 5 that kids can truly ride alone. Go by your child’s abilities rather than age. Give a try but don’t push too hard.
How do you teach a stubborn child to ride a bike?
Stay calm and patient, making sessions low-pressure and fun. If they resist or tantrum, take a break and try again later. Praise small efforts. Consider incentives rewarding practice time rather than skill level to ease frustration.