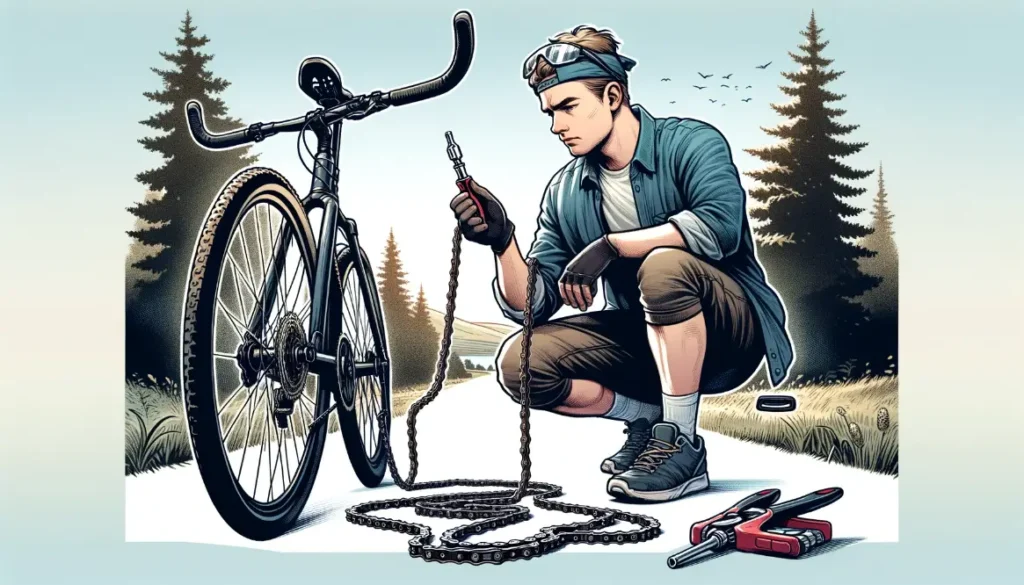
Introduction: How to Fix a Bike Chain
If you’ve ever experienced a broken bicycle chain mid-ride, you know it can be inconvenient, and leave you stranded. Fortunately, repairing a broken bike chain is a straightforward DIY project that most cyclists can tackle themselves. With some basic tools and mechanical know-how, you’ll be back up and pedaling again in no time. Follow these key steps to safely diagnose the issue and fix your bicycle’s chain.
Step 1: Gather Necessary Tools and Supplies

Before getting started, assemble the proper gear:
- Chain tool or multi-tool with chain breaker
- Replacement chain links and/or pins
- Lubricant or chain oil
- Rags
It’s wise to carry these bike repair essentials while out cycling, in the event an on-the-go fix is needed. Always check that you have the right supplies for your particular bicycle chain type before hitting the road or trails.
Step 2: Understand Why and How Chains Break
Bicycle chains commonly fail due to damage, extreme wear or improper installation. The chain may break entirely and come detached, or individual links can malfunction while the overall loop remains connected. Links can bend, warp or even snap under pressure. Understanding why and how chains break helps inform the repair.
Step 3: Learn How Bike Chains Work
Modern bicycle chains have interlocking links pinned or riveted together so they can articulate smoothly around the drivetrain sprockets. Each link has an inner and outer plate, with a bushing or roller between them. Bushings fit over the chain pins, enabling the links to rotate freely. Roller chains utilize rotating cylinders for reduced friction. Both designs must move fluidly for safe performance.
Step 4: Respond to a Broken Chain
When a link fails or disconnects mid-ride, carefully brake and stop pedaling to prevent further damage. Shift gears into a middle ring position that isn’t too taut or slack before assessing the break. Don’t try to keep riding on a broken chain as this risks harming the rest of the drivetrain. Address all bicycle chain issues promptly.
Step 5: Inspect the Chain
Examine the full length of chain to locate cracks, breaks, twists, stiffness or excessive grit. Clean built-up dirt around damaged links to clearly see the problem area. Note whether pins have backed out of plates, if links seem stretched or deformed, or if rollout has occurred. Determine which links are problematic and where the chain needs separating for removal.
See also: Calculate Bicycle Chain Length: A Comprehensive Guide
Step 6: Separate the Chain
Use your chain tool to push chain pins most of the way out, avoiding damage to plates. With damaged links identified, take care to only separate the essential sections. Remove any bent links for replacement. Disassemble only what’s required to safely remove and replace bad links before rejoining the chain ends.
Step 7: Reconnect Chain Links

Once damaged links are replaced, carefully realign and re-pin intact sections. Insert new links making sure bushings or rollers are inside, not binding. Retain original pins when possible. Press joiners or new pins back in place without losing alignment. Ensure pins are flush or slightly protruded; they should not catch.
Step 8: Check Chain Movement
Before re-installing, manually move the full chain loop checking for any tight, stiff or rough spots. Links should flow smoothly again. Fix any lingering issues before returning chain to bike. Proper alignment and articulation are vital for safe functioning.
See also: Don’t Let a Long Chain Ruin Your Ride! 🚲 Here’s How to Shorten It
Step 9: Test and Reuse the Chain
Clean entire chain then lubricate liberally. Carefully loop back onto bike gears without twisting. Slowly rotate cranks while applying pressure to confirm good drivetrain movement. Shift through all gears, adjust tension accordingly. Ride conservatively at first, allowing chain to settle back in. Monitor for recurring issues.
Conclusion
Repairing a broken bicycle chain is often a simple DIY fix if you have the right tools and take methodical steps. Understand what caused the mechanical failure, isolate and replace damaged links, then properly realign, reconnect and reinstall chain. Test thoroughly before hitting trails again and continuously monitor chain wear to prevent future breakdowns. Proper bike maintenance and quality components also helps chains hold up over time and terrain.
FAQs
Can you fix a broken chain on a bike?
Yes, you can fix a broken chain on a bike. It typically requires a chain tool to remove the broken link and then reconnect the chain. If you’re unfamiliar with the process, it’s advisable to seek help from a bike shop or refer to a bicycle repair guide.
How do you fix a broken chain?
To fix a broken bike chain:
- Remove the broken chain from the bike.
- Use a chain tool to push out the pins and remove the broken link.
- Reconnect the chain by aligning the links and pushing the pin back in place, or use a master link if available.
- Ensure the chain is properly threaded through the derailleurs and test it by pedaling.
Should you replace a bike chain if it breaks?
It depends on the condition of the chain. If the chain is relatively new or in good condition, repairing it might be sufficient. However, if the chain is old, worn out, or breaks frequently, it’s better to replace it.
How much does it cost to fix a broken bike chain?
The cost to fix a broken bike chain can vary. If you do it yourself, you might only need to purchase a chain tool or a new chain link, which can be relatively inexpensive. Professional repair at a bike shop might cost more due to labor charges.
What is the lifespan of a bike chain?
The lifespan of a bike chain depends on several factors like usage, maintenance, and riding conditions. On average, a bike chain may last between 2,000 to 3,000 miles. Regular cleaning and lubrication can extend its lifespan.
Is a broken chain fixable?
Yes, a broken chain is typically fixable. Minor breaks can often be repaired by removing the damaged link and reconnecting the chain. However, if the chain is severely damaged or very old, it might be more practical to replace it entirely.


