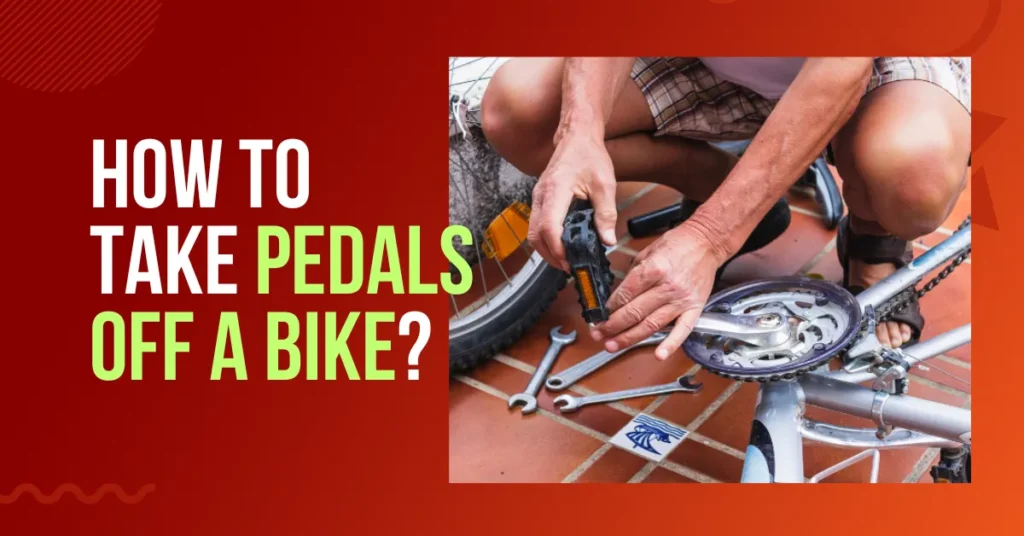
Taking pedals off a bike is a common task that most cyclists will need to do at some point. Whether you are upgrading your pedals, changing your crankset, packing your bike for travel, or doing maintenance, knowing how to properly remove and install pedals is an important skill.
While the process is relatively straightforward, there are some specific tips and tricks to doing it efficiently and avoiding damage. In this comprehensive guide, we will cover everything you need to know to successfully take pedals on and off your bike.
Necessary Tools and Materials
Before getting started, you will need to gather a few basic tools and supplies:
Pedal wrench
A pedal wrench is essential for loosening and tightening the pedals. Pedal threads are reverse-threaded so you will need a wrench designed specifically for pedals.
Grease
Some grease on the pedal threads will make installation and removal easier and prevent corrosion. Any bike-specific grease will work.
Rags
Have some rags on hand to wipe down components and your hands.
Determining Threading and Pedal Orientation
There are a few key things to check before removing your pedals:
Pedal threading
Most pedals have reverse threading on the non-drive side and standard threading on the drive side. This means the non-drive side loosens by turning counter-clockwise, while the drive side loosens by turning clockwise. Double check which side is reverse threaded for your specific pedals.
Pedal orientation
Look at the end of the pedal axle to determine orientation. There should be an “L” and “R” marking the left and right pedals. Some high-end pedals may instead have markings for non-drive side and drive side. Be sure to note the correct orientation so you can reinstall properly.
Step-by-Step Pedal Removal Process
Once you have gathered the proper tools and supplies, follow these steps to safely remove your bike pedals:
1. Inspect pedal threads
Before attempting removal, inspect the pedal threads for any debris, damage or corrosion. Clean threads thoroughly and apply grease.
2. Position crank arm
Shift chain onto the large front chainring and rotate crank to access each pedal. This provides the best access and leverage for removal.
3. Stabilize the bike
Either have someone hold the bike steady or place in a bike stand. The torque required to loosen pedals can cause the bike to shift or fall.
4. Loosen non-drive side first
Place pedal wrench on the non-drive side pedal and turn counter-clockwise to loosen. Remember this side has reverse threading.
5. Remove non-drive side pedal
Once fully loosened, thread the pedal off by hand and set aside. Be careful not to damage the threads.
6. Loosen drive side pedal
Now place pedal wrench on drive side pedal and turn clockwise to loosen the standard threads.
7. Remove drive side pedal
Finish removing the drive side pedal once fully loosened. Set both pedals together to keep track.
8. Clean crank arms
With both pedals removed, wipe down the crank arms to clean all grease and debris from the pedal threads.
Preparing New Pedals for Installation
If you are installing new pedals, follow these tips first:
- Inspect new pedals for any defects, damage or missing reflectors
- Apply a thin layer of grease to the entire pedal thread
- Double check the “L” and “R” markings for pedal orientation
This will prep your new pedals for a smooth installation.
Bicycle Tune Up Checklist: A Comprehensive Guide to Keeping Your Bike in Top Shape
Step-by-Step Pedal Installation
Once your new pedals are prepped, use the following steps to properly install them:
1. Inspect crank threads
Before installation, inspect the crank arm threads for debris and clean thoroughly.
2. Position non-drive pedal
Orient the left “L” marked pedal into the non-drive side crank arm. Remember reverse threading.
3. Hand thread non-drive pedal
Initially thread the non-drive pedal into the crank arm as far as possible by hand turning clockwise. This prevents potential cross-threading.
4. Secure non-drive pedal
Place your pedal wrench on the end of the pedal axle and tighten fully by turning counter-clockwise. Do not over tighten.
5. Position drive side pedal
Now orient the right “R” marked pedal into the drive side crank arm. Standard threading.
6. Hand thread drive pedal
Again, initially hand thread the drive side pedal as far possible into the crank arm by turning counter-clockwise.
7. Secure drive pedal
Use your pedal wrench to fully tighten the drive side pedal by turning it clockwise. Tighten securely but do not over tighten.
8. Check pedal tightness
Double check that both pedals are fully secured by trying to wiggle them. They should have zero play or looseness.
Tips for Easier Pedal Removal and Installation
Here are some helpful tips to make the job easier:
- Use a pedal wrench rather than an adjustable wrench for best grip and leverage
- Apply penetrating oil if pedals are stuck then let soak
- Turn wrench slowly with steady force versus jerky movements
- Change body position for best mechanical advantage
- Remount drive side pedal first if swapping same pedals side to side
- Do not over tighten pedals which can damage crank threads
Taking the time to follow these steps and tips will allow you to efficiently remove and install pedals without damage whenever needed.
How to Remove Rust from Cycle: A Comprehensive Guide 🚲
Troubleshooting Common Pedal Issues
During removal or installation, here are solutions for some common problems that may occur:
Stripped crank arm threads
- Chase threads with tap, insert steel heli-coil insert or replace crankset
Rounded off pedal axle
- Use vice grips or penetrating oil, replace pedal if necessary
Pedal seized in crank arm
- Apply penetrating oil, use cheater bar for extra leverage, heat with hairdryer to break corrosion
Pedals loose during riding
- Remove, clean threads, apply more grease and tighten securely
Creaking noises
- Disassemble pedal, grease all threads and contact points, properly torque pedal
Frequently Asked Questions
Here are answers to some common questions about removing bike pedals:
How do I know which way to turn the pedals to loosen them?
Remember “Reverse/Righty” – the non-drive side loosens by turning counter-clockwise, while the drive side loosens by turning clockwise.
Do I need special tools?
Yes, you will need a quality pedal wrench to properly grip and turn the pedal axles. An adjustable wrench is not recommended.
What type of grease should I use?
Any bike specific grease will work fine, automotive grease can also be used. Avoid household lubricants like WD-40.
Can I damage the threads by riding with loose pedals?
Yes, it’s important to fully tighten pedals because riding with loose pedals can quickly damage the crank arm threads.
How often should I service my pedals?
Pedals should be removed, cleaned, greased and inspected for damage at least annually or any time they are being swapped.
Conclusion
Knowing how to properly remove and install pedals is an essential skill that every cyclist should learn. By following the steps and tips outlined in this guide, you can avoid damage and keep your pedals spinning smoothly for miles.
With the right tools, preparation, technique and regular maintenance, changing pedals can be a quick and painless process. Take the time to inspect threads, orient pedals, hand thread initially and grease components for best results.
Remember to always loosen the non-drive side first, and be sure to distinguish between standard and reverse threading. If you encounter any issues, use the troubleshooting tips to get back on the road faster.
Regularly servicing your pedals as part of routine bike maintenance will prevent problems and ensure a positive riding experience every time you go out.


